WARNING: This tutorial is seriously long. I hope it makes sense and if not PLEASE email me with any questions.
Supplies:
3 different types of fabric
Drop Waist (top of skirt; this is where the elastic will go) 6" x "38
Top Layer 13" x width of fabric (times 2)
Bottom Layer 15" x width of fabric (times 2)
Ribbon Holder (scrap of fabric) 3 1/4" x 15 1/2"
3/8" ribbon 15" (times 2)
1" elastic
I will explain how to adjust these measurements to fit someone other than a size 6. O.K. so lets start out by figuring out the length of the skirt that you would like it to be. Decide how long you want the skirt and take your drop waist measurement (mine is 6") and your bottom layer measurement (mine is 15") add them together (mine is 21") and then subtract out 3" for seam allowances and the elastic casing (mine is 19").

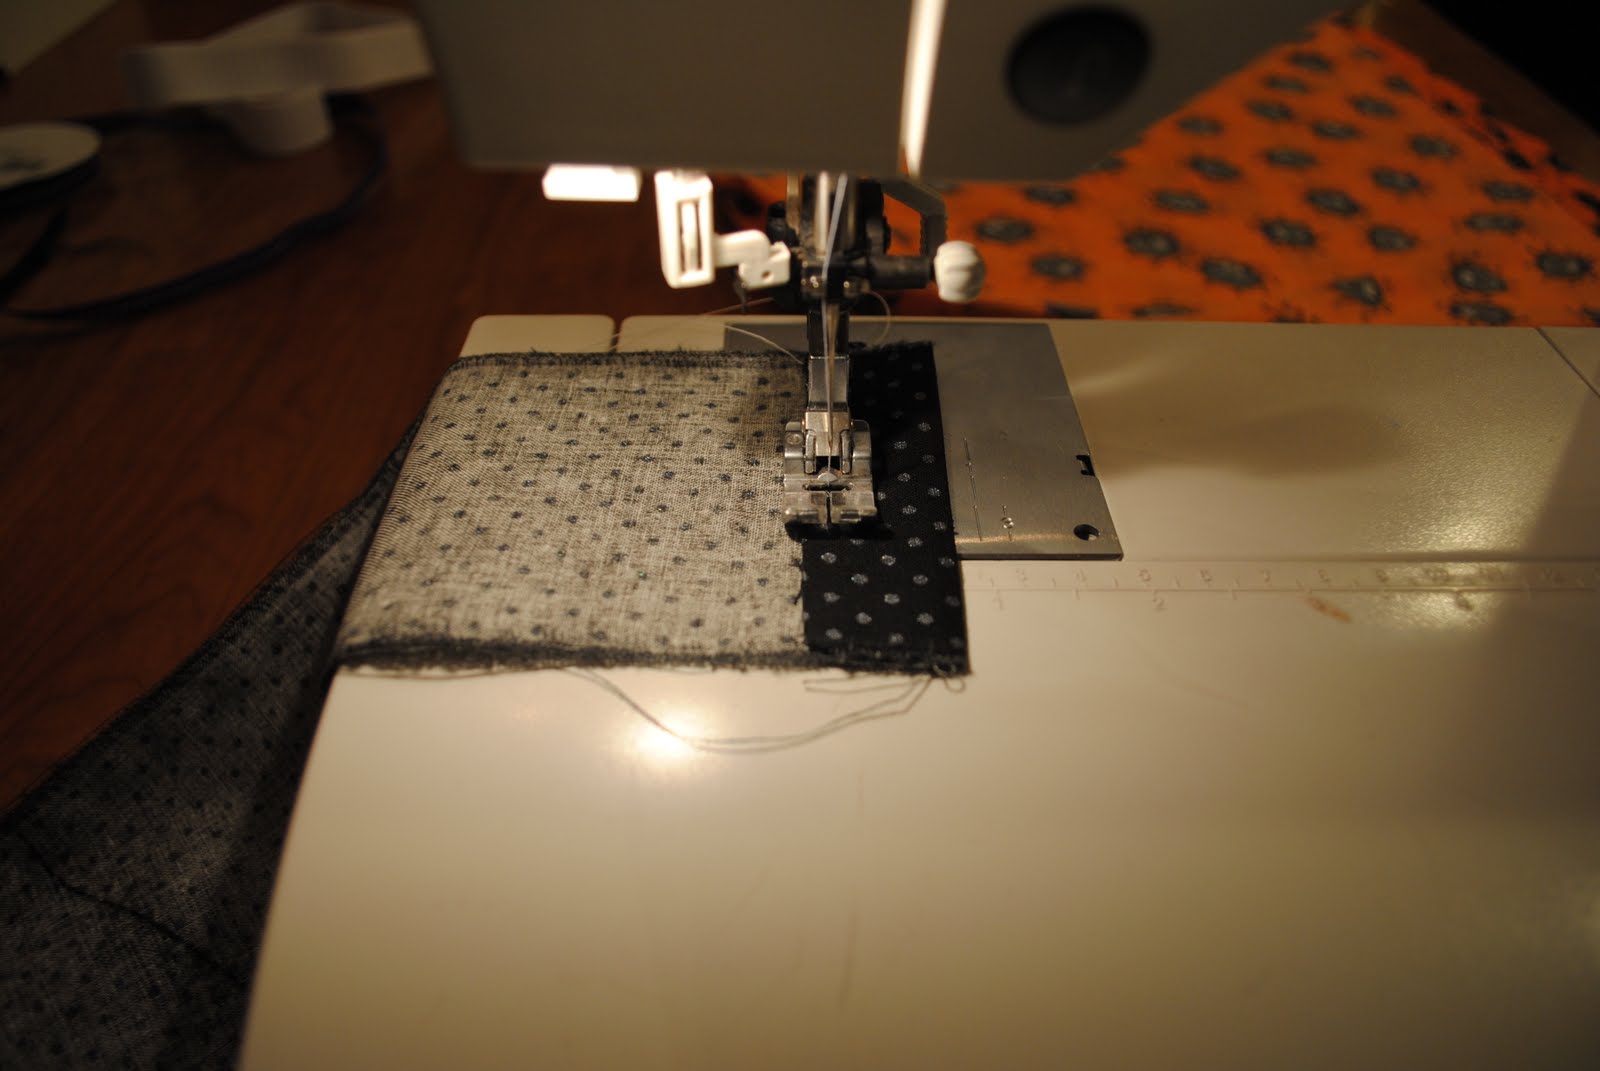
Take the drop waist layer and sew the sides together. You should have one continuous loop now.

Next sew the two pieces of top layer fabric together at the sides (right sides facing together).

Now sew the two pieces of the bottom layer fabric together at the sides. (again right sides facing
together)

Fold bottom edge up about 1/8" and iron. Fold up again about 1/4" and iron.

Sew in place close to ironed edge.

Do the same thing for the top layer fabric.

Take your drop waist fabric and iron down the top about a 1/4".
Then Iron down about 1 1/8" for the elastic casing.

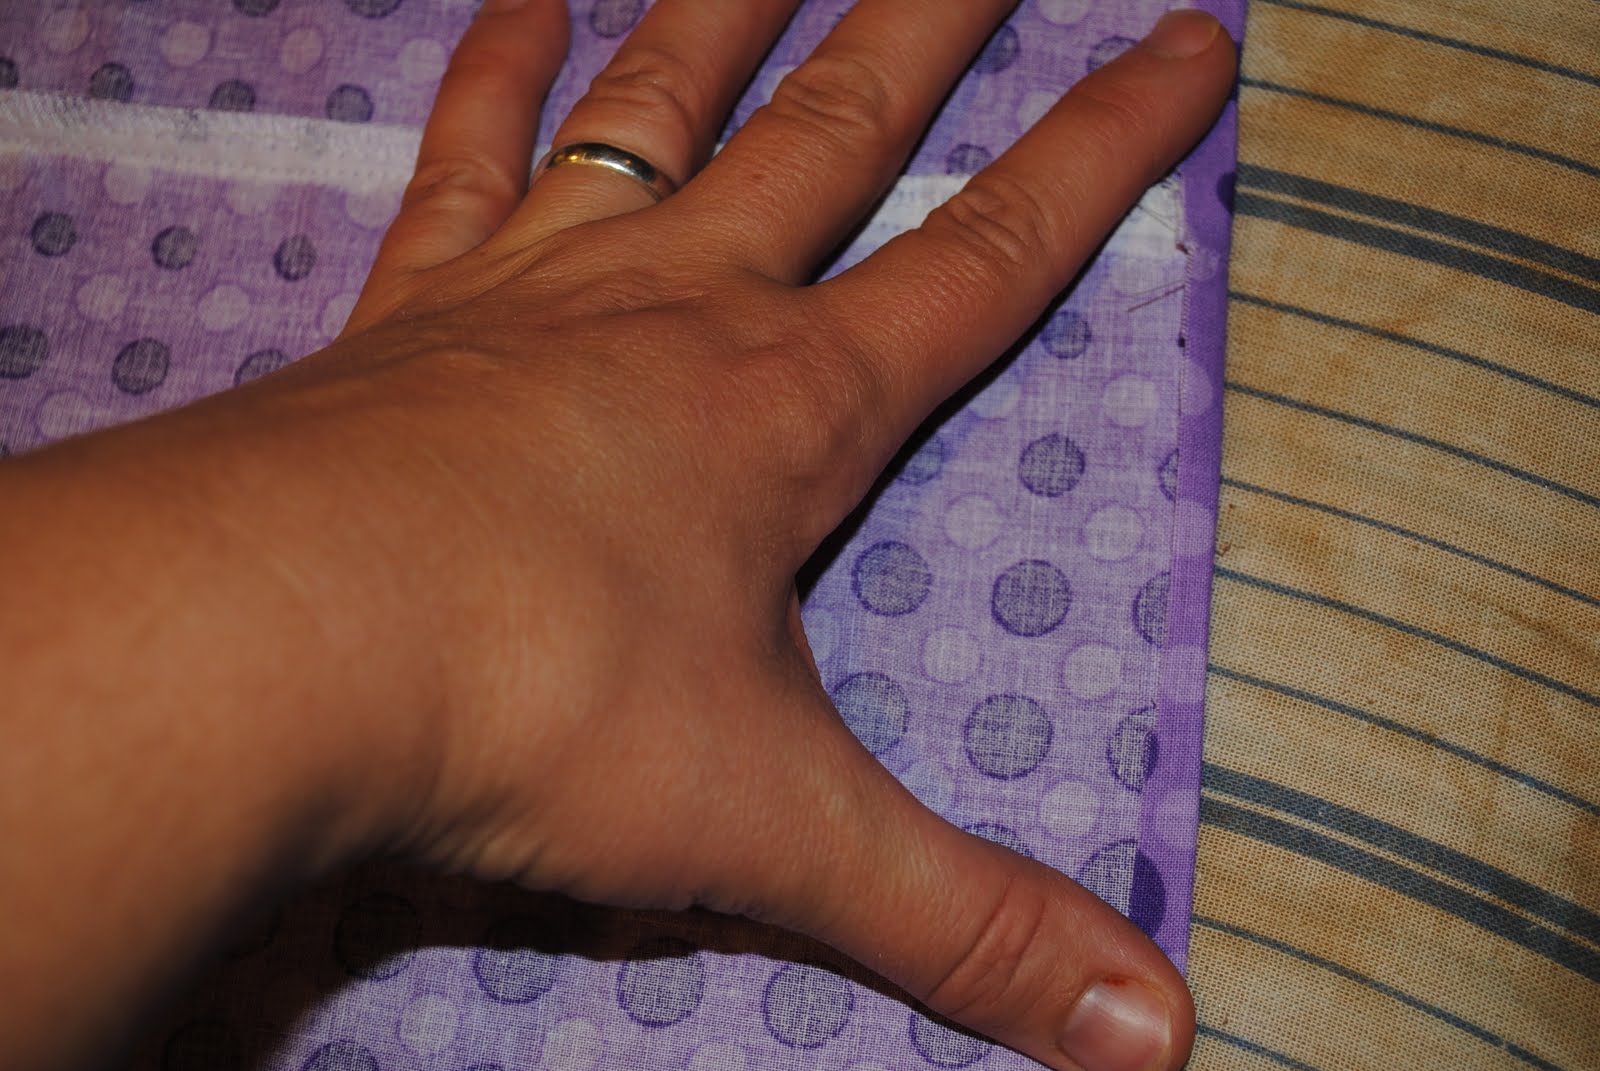
Sew around elastic casing close to the ironed edge leaving about a 2" opening (so that you can slide the elastic in later).

Pins are just there to show you my opening.

Next take your ribbon holder fabric and fold up the bottom and sew in place.

Iron the ribbon holder fabric in half length wise and then open up and iron each side towards the middle so that they are meeting in the middle.

It should look like this.

I measured 12" in from the side and placed my fabric for ribbon gathering there.

Pin your ribbon holder in place (or not) and sew down one side, leaving both ends open.

Then sew down the other side and

then the middle.

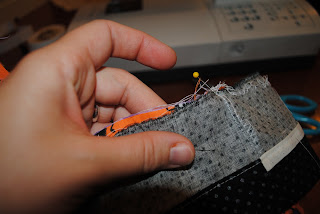
Hook a safety pin to your ribbon.

Thread one piece of ribbon up one side and then the other piece of ribbon up the other side. I measured my ribbon about six inches longer than the top tier; just long enough to tie a bow.

Here is what it looks like coming out the other end.

Once you get both pieces of the ribbon in and sticking out the other end pin them in place and sew across to tack them in place.

This is what is should look like at this point.

Slide the bottom layer inside the top layer with the right side of the bottom layer facing the wrong side of the top layer.

Stitch these two layers together with your longest stitch; so that they can be gathered.

I suggest doing two rows of stitching for the gathering (both at your longest stitch length.)

Now comes the fun part!! Gathering!! Gathering!! Gathering!! You will want to pin the drop waist to the layers that were just sewn together with the gathering stitch and start gathering. I gather halfway around and pin and then do the other half.

This is what it looks like all gathered up.


Sew the attached layers together.

This is what the skirt should look like now.

I like to top stitch; so go ahead if you would like and
stitch on the drop waist about an 1/8" from the seam.


Measure out your
elastic 1" less than the waist measurement of the person you are making this skirt for and cut it. Hook a safety pin into the end of it and thread it through the top tier casing for the elastic.

This is what it will look like when the elastic is completely threaded through.

Overlap your elastic about an inch and sew together.


After you sew the elastic together pull it into the casing and sew the opening on the casing shut.

This is what you should have now.

Now take the ribbons and push the fabric up and tie them in a pretty bow.

TA-DA!!!! You are finished. I am sure this is about as clear as mud. As always please feel free to email me with questions!!


 Also, rub off the expiration date on the side of the lid.
 Shove the brad in one lid and then line up the other lid and push the brad through that one to.