
T-shirt Dress Tutorial
Supplies:
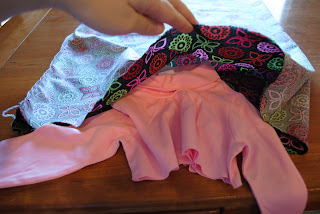
*t-shirt (I used turtlenecks I bought last year clearanced at Target)
*About a yard of fabric, depending on how long you want the dress to be
**Obvious supplies: sewing machine, serger (if you have one), scissors, needle, thread, pins! ;)
OK, here goes. I took my shirt (I was making 2 that is why there are 2 shirts pictured here) and cut it 2 inches below where the underarm starts. You don't need the bottom part of the shirt anymore I just wanted you to be able to see what I had done. *I saved the bottoms of the shirts for baby headbands!!
 Next, you will get your fabric and cut it to the length you would like. I just held it up to my girls chest, right under their arms, and determined the length from there. You can always cut more off in the end if it is too long. I made these too long and ended up having to cut some off but better that than if it would have been to short. (although if that ever happens just add a 2-3inch ruffle)
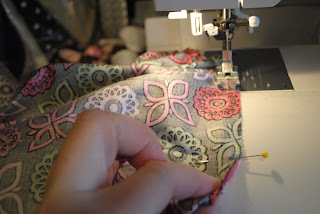
 Now you want to take your fabric and put right sides together and sew up the side seam. I serged mine first and then I sewed it with my sewing machine for extra durability.
This is what it looks like all serged and sewn.

Take your shirt and slide it in your fabric "tube" right sides together.
 I used the side I serged up on the fabric and pinned it to the side seam on the shirt. I found the halfway point on the other side and pinned it to the other side seam on the shirt.
 I then pinned the shirt in two more spots. So it ended up being pinned in quarters around the shirt. 4 pins that is all I used.
 I then started on the side seam and pulled the shirt to stretch it out to the next pin. This will give it the gathers because the shirt will recover to it's original size.
 Here is me stretching the shirt and feeding it through the machine. Much easier to do than I am making it sound. It was really difficult to photograph by myself, but I hope you get the point.
 Another pic of me stretching the shirt while sewing it to the fabric. You can't see the shirt but it is under there. I used about a 1/2" seam which is pretty big but it is what works for me.
 And another pic. of me stretching the shirt. ;)
 Here is what it looks like all sewn together.


Take your shirt and slide it in your fabric "tube" right sides together.
 I used the side I serged up on the fabric and pinned it to the side seam on the shirt. I found the halfway point on the other side and pinned it to the other side seam on the shirt.
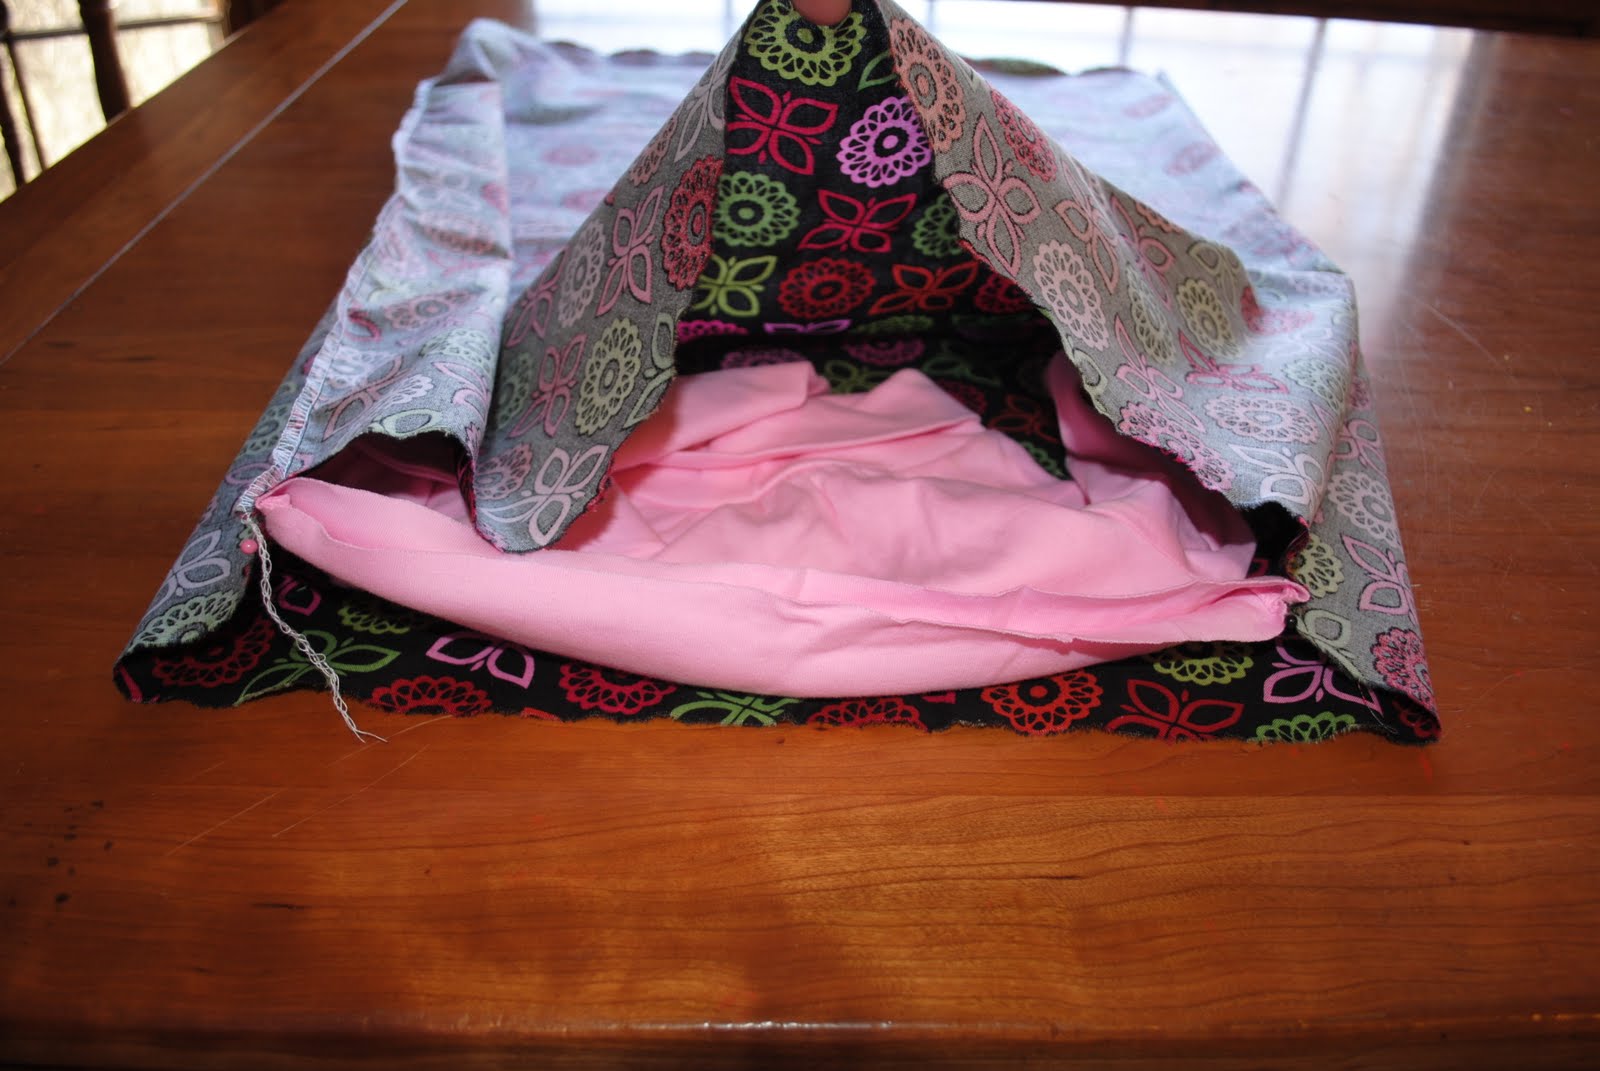 I then pinned the shirt in two more spots. So it ended up being pinned in quarters around the shirt. 4 pins that is all I used.
 I then started on the side seam and pulled the shirt to stretch it out to the next pin. This will give it the gathers because the shirt will recover to it's original size.
 Here is me stretching the shirt and feeding it through the machine. Much easier to do than I am making it sound. It was really difficult to photograph by myself, but I hope you get the point.
 Another pic of me stretching the shirt while sewing it to the fabric. You can't see the shirt but it is under there. I used about a 1/2" seam which is pretty big but it is what works for me.
 And another pic. of me stretching the shirt. ;)
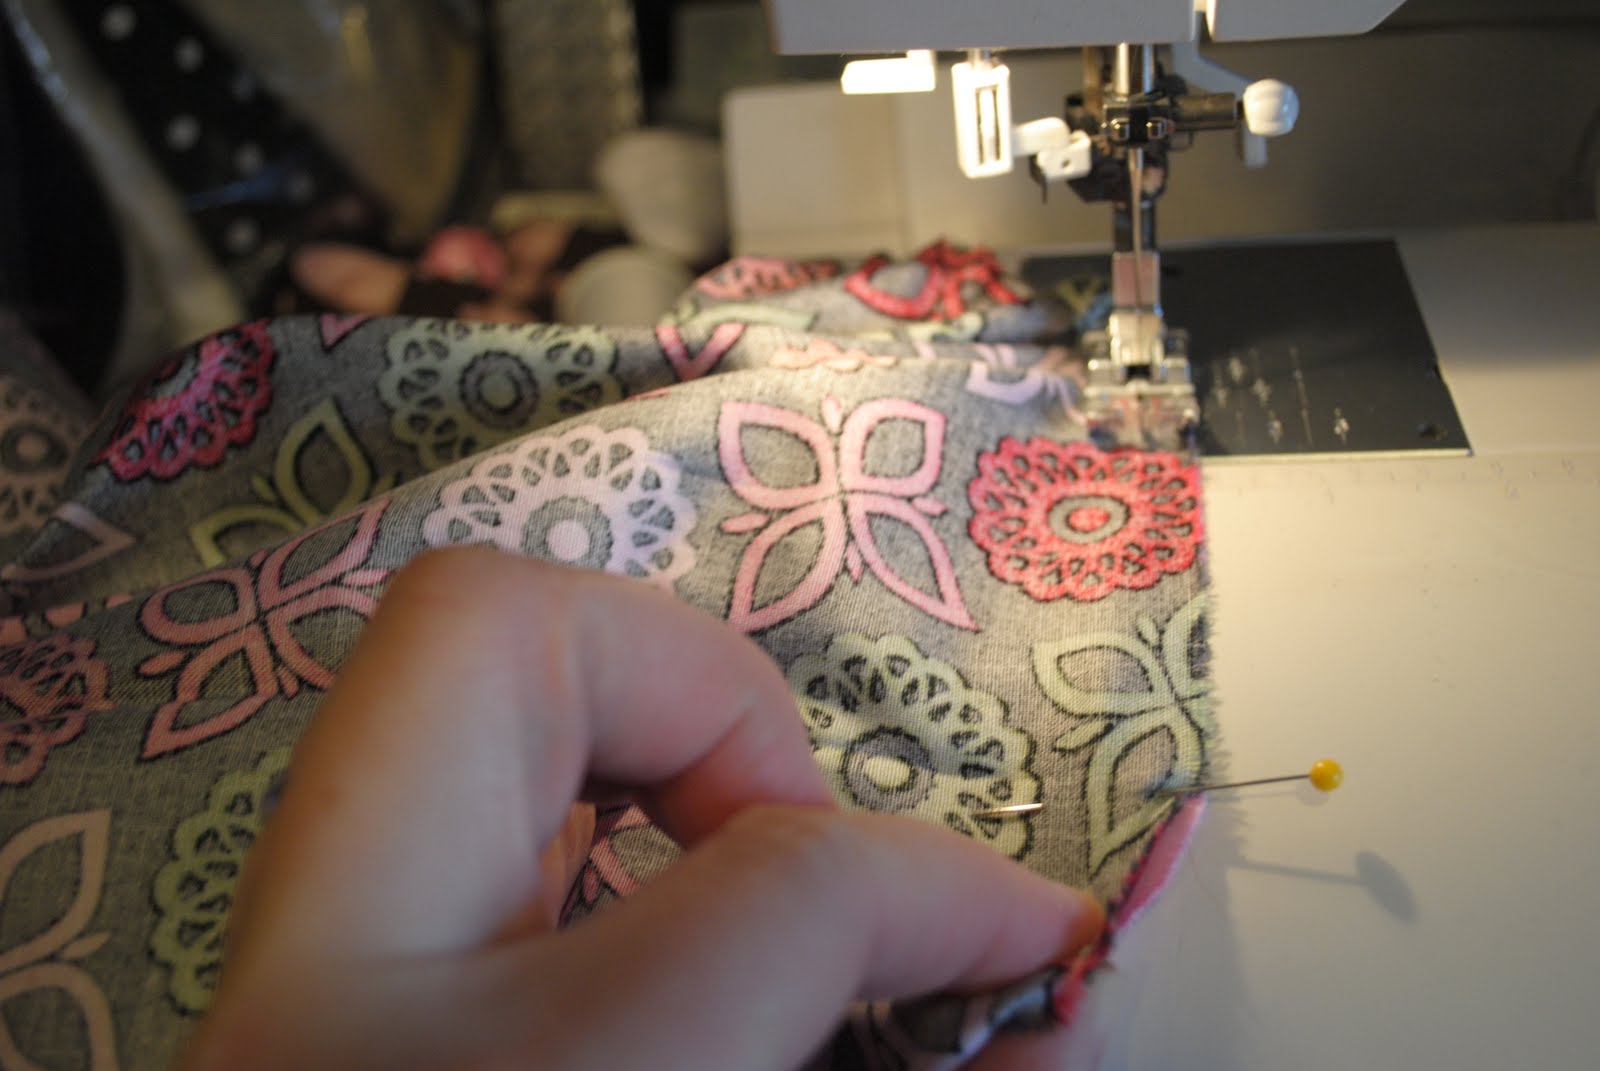 Here is what it looks like all sewn together.
I then serged the shirt and fabric together. If you do this make sure you stretch the shirt as you go so that it has some give when your child is taking the dress on and off.


Now it is time to hem the bottom. I am lazy, so I serged the bottom first, then I tried it on my daughter found it to be too long and cut more off then reserged it. This is what it looked like after being serged.
Fold up the bottom about 1/2" or so and sew all the way around. If you don't have a serger iron up about 1/4" and then iron up again so that you have no raw edge showing. Then sew around the bottom of the dress.
This is what you should have in the end.
Here are my sweet girls in their new dresses. Of course, Christian couldn't resist and had to get his handsome face in the picture too!! By the way, the dresses took less than an hour and that was for two and with interruptions...SUPER EASY!!
Let me know if you have any questions. I know it is probably clear as mud!! :)
***Next week I will show you how to make the ribbon ruffle socks my girls are making.***
Aahhh! Cute! I need to have some girls so I can use this. Can wait to hear if your new baby is a boy or a girl. So fun!
ReplyDeleteDo you know how long I have searched for a tutorial like this? I wish I had seen this before I spent money on a terrible pattern I bought offline. Going to try this soon. Thanks so much for sharing!
ReplyDelete