
Ribbon Sock Tutorial
Supplies: A pair of socks
2-3 inch ribbon
(I have 2 pictured because I was making two pairs, obviously ;))
 I measure the ribbon out so that it is 2 times the width of the socks.
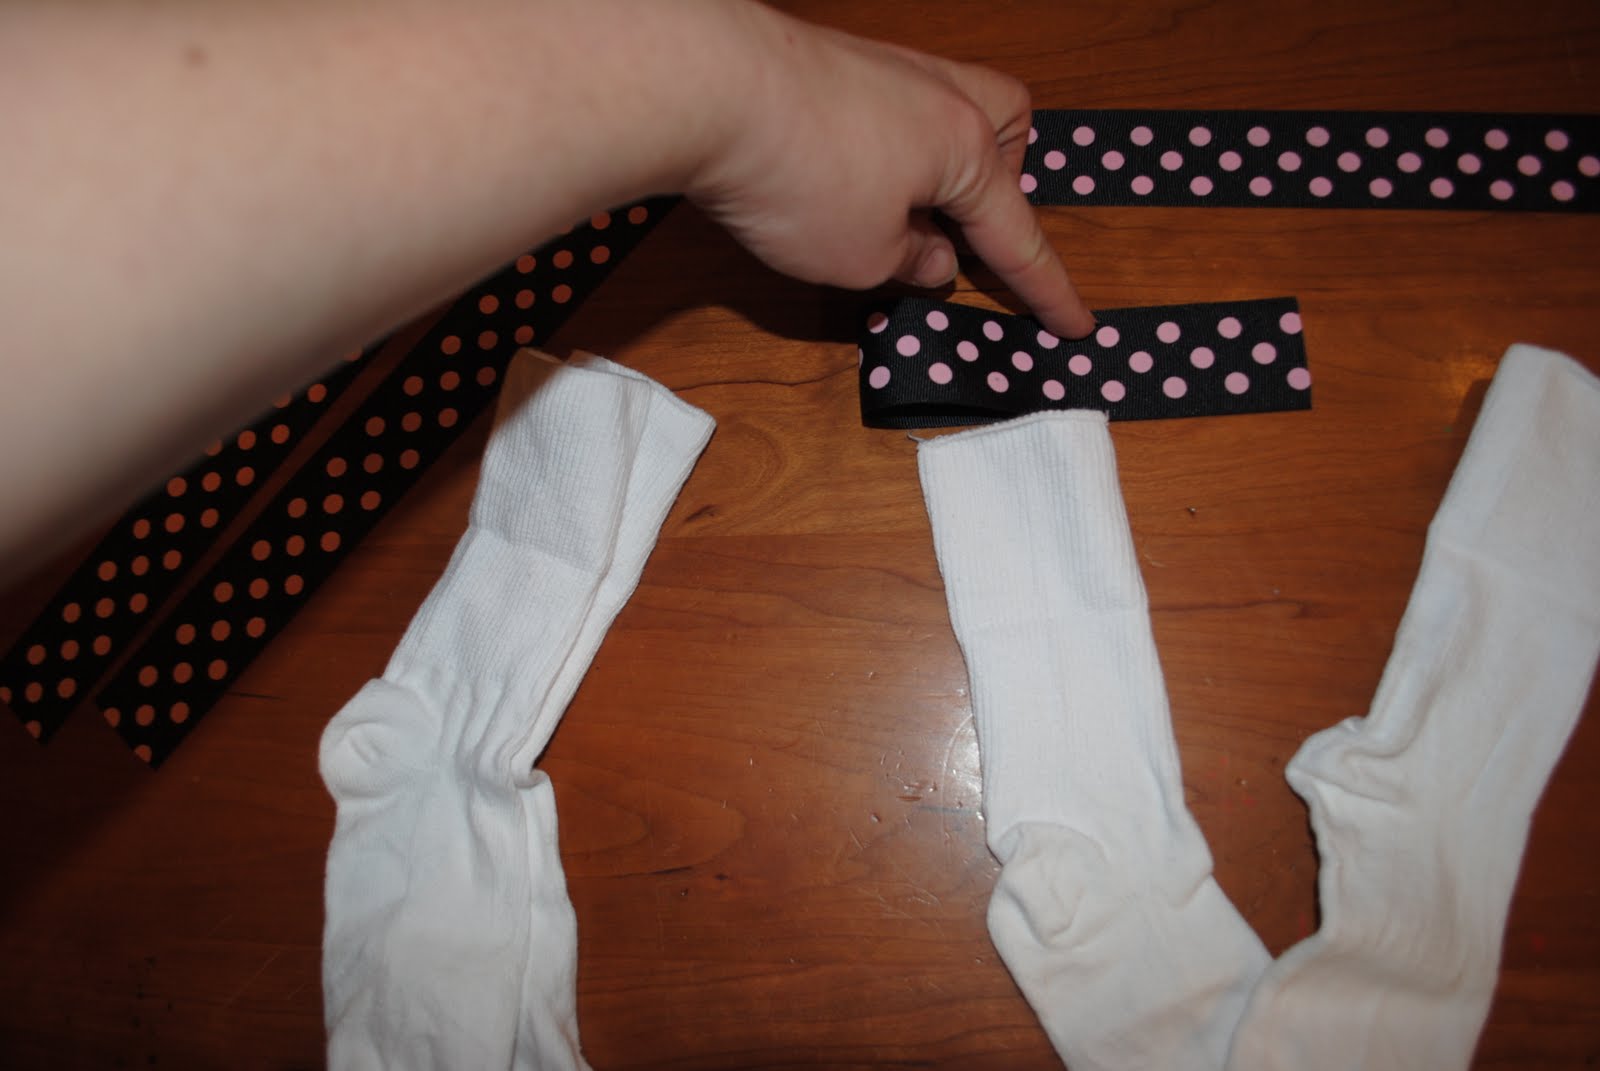 Cut your ribbon to that length.
 Burn the edges of the ribbon so that they do not ravel.
 So the ribbon edges together so that you have made the ribbon into a circle.
 Pin the ribbon to your sock. I line the ribbon seam up with the back of the sock. Also, turn the sock inside out and make sure you pin the ribbon right side to the sock.
  I pin the sock in 2 places, the back of the sock and then halfway around, as pictured below.
 Start sewing at the back of the sock where your seam on your ribbon is. After you back stitch and the ribbon is attached about 1/2" I want you to start stretching the sock.
 You want to stretch the sock out to the pin, this is what is going to cause the ribbon to ruffle.
 Continue to stretch the sock all the way around. Make the sock stretch to the length of the ribbon.
 This is what it will look like all sewn to the sock inside out.
 Flip the sock right side out and this is what you should have!
 Here are my socks all finished. I love these socks!! I used to by the white lacy ones but, my girls just wore them out so quickly; they are expensive and cheaply made. These socks last so much longer than those expensive ones.
 I have done these in all sizes and it is the same technique. The newborn size can be a little tricky as they are so small. Have fun crafting!
This is so cute! Thank you for posting it!
ReplyDeleteI love it!!! thank you for sharing!!!
ReplyDeleteYou are very welcome!
ReplyDeleteThank you!! I made 2 pairs to start and will be making many more in the years to come. They are so cute!
ReplyDeleteSo glad you were able to make some and like them!!
Delete