
Ironing Board Cover Tutorial
Supplies:
Fabric the length and width of your ironing board x 2 (I used 2 layers of fabric)
Quilters batting
String
Safety pin
Place your ironing board on top of the fabric (I used 2 layers of fabric so that I could place my batting in between) you will be using. I am using fabric that used to hang in the entrance of my school room until Grace decided to cut eye holes in it. So, it has sat in my basement waiting for me to fix it or something. I guess I decided on the or something...because it is becoming my awesome ironing board cover! You want to trim it about 2" from the edges of the ironing board.
 This is what it looks like all trimmed up. You will also want to have your fabric strips that are 2 1/2" by 140".
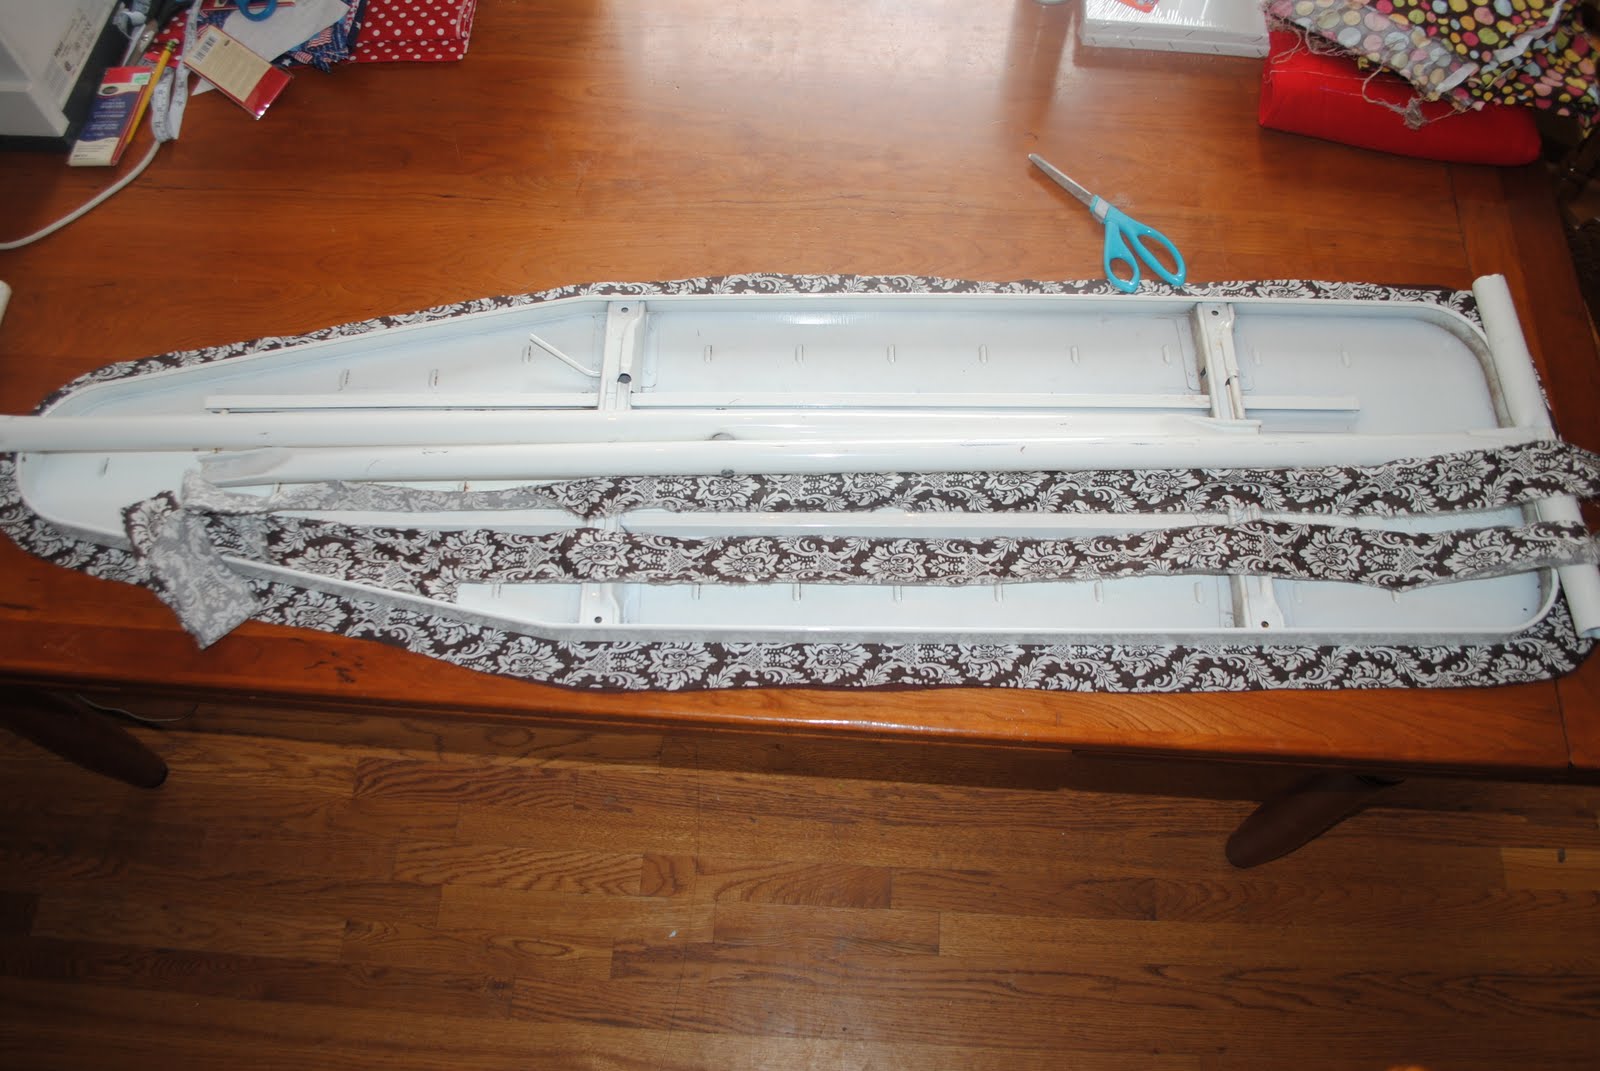 I used quilting batting to give it a little extra padding. You will want to cut that the same as the fabric.
 Once you have cut the batting place it in between the 2 layers of fabric.
 Sew around the edges of the fabric just to baste everything together.
I also decided to quilt my fabric because I was worried about the batting shifting around when I had to wash because let's face it I will have to wash it they always end up looking nasty! This is what it looks like all quilted.
 This is what it looks like all quilted.
 Iron the end under for the opening of what will become your tube for the string. You won't iron the other end under because it is probably going to be to long and you can trim it after you get it all pinned to the size it will need to be.
 Iron the 2 1/2" x 140" fabric in half lengthwise. This will become your tube to feed the string through to make the cover fit your ironing board.
 Pin the "tube" all the way around the cover.
 This is where I trimmed the fabric to fit it was about 10" to long so just cut it then fold the end under as you will see in the next picture and you will end up having two openings.
 Use a 1/2" seam all the way around.
  You are going to want to "feed" string or ribbon in the opening of the tube.
 Tie a knot in the string and slide the safety pin through the knot.
 Feed the string that is attached to the safety pin through the tube that you sewed onto the cover.
 String all fed through! It took a little while for me to get it all the way around that sucker.
 Place the cover upside down and put the ironing board on top of it. You will now want to pull the string tight, very tight. I had to pull my up around the edge of the ironing board and then just pulled the string until I couldn't.
 Tie it in a bow and the hard part is done now.
TaDa....the finished product!! I love it! Looks so much better than the nasty stained blue and white striped ironing board cover I had before and even better I didn't even have to buy anything to make it. I was able to use stuff I already had on hand.

No comments:
Post a Comment